

One of the most talked about advancements in Spotfire 7 is the new way to apply a Visual Theme to your dashboard. These new capabilities make it even easier to create a dashboard that suits your unique design and style requirements, and also to apply custom branding to your work.
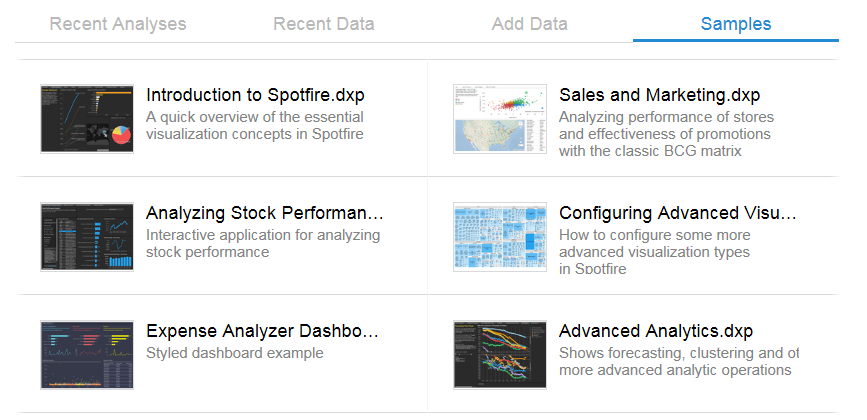
For those just getting started, Spotfire now comes with examples that provide a glympse of what is possible with these new theme capabilities. These can be found on the “Samples” page of any new Spotfire 7 installation:
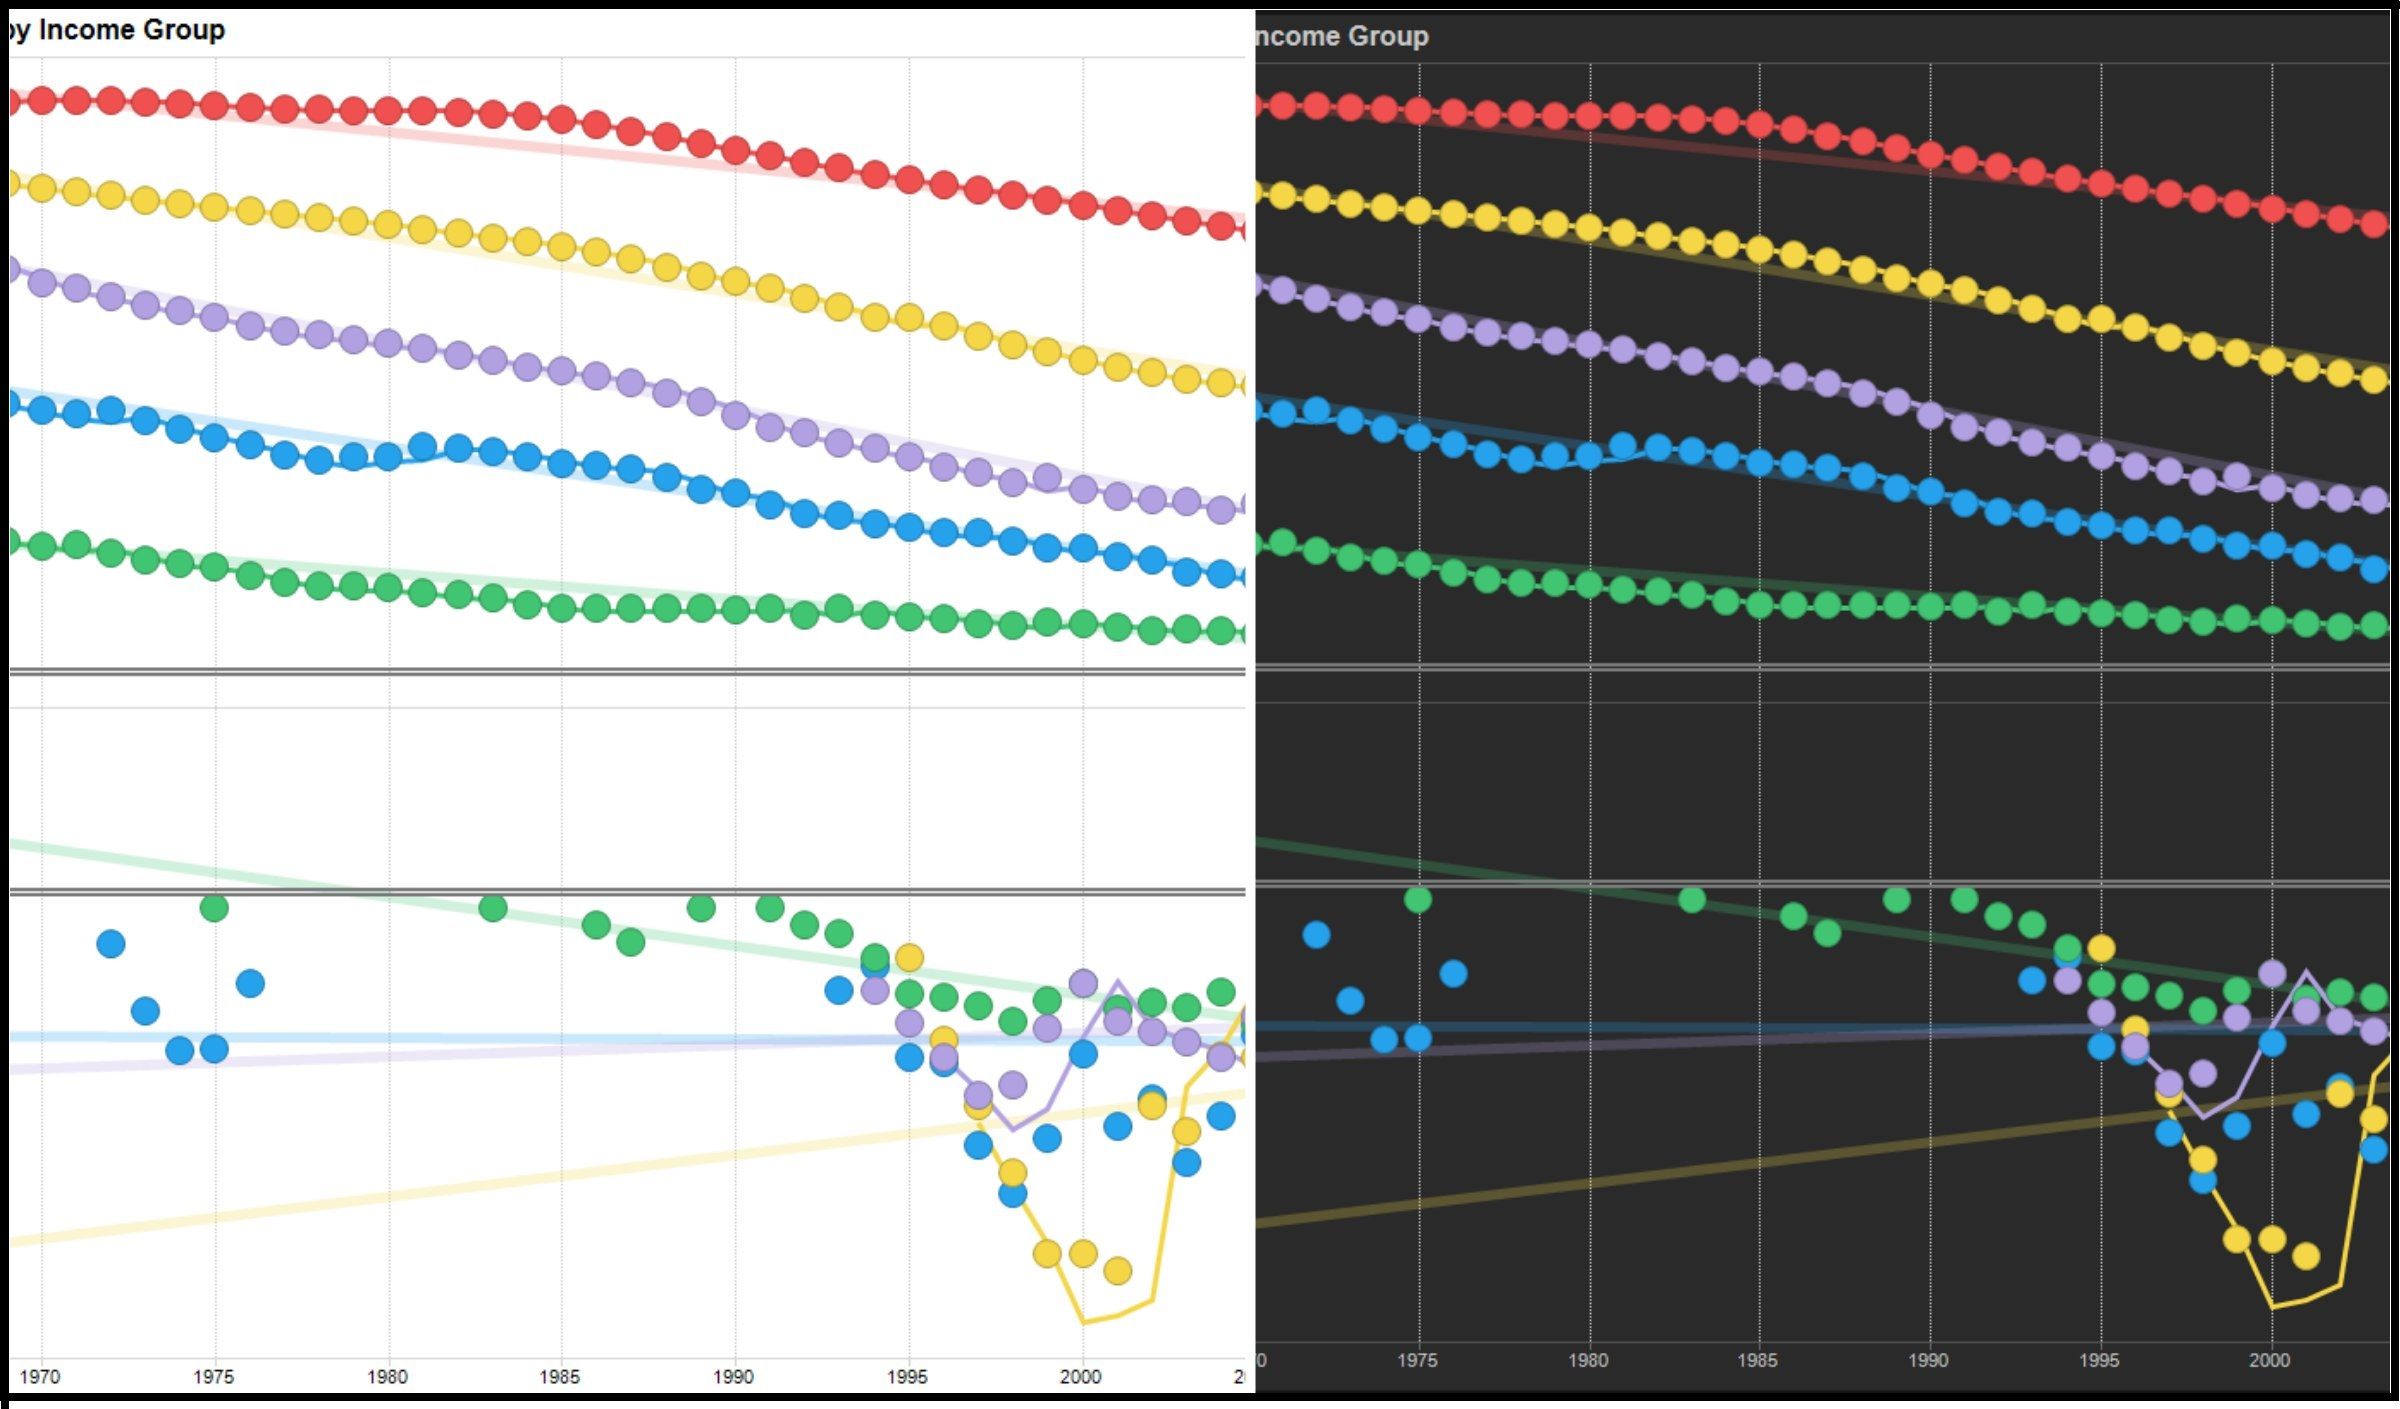
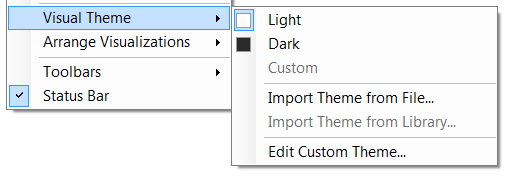
If you already have an analysis available, you can experiment with the theme presets, allowing you to select between a “light” and “dark” theme.
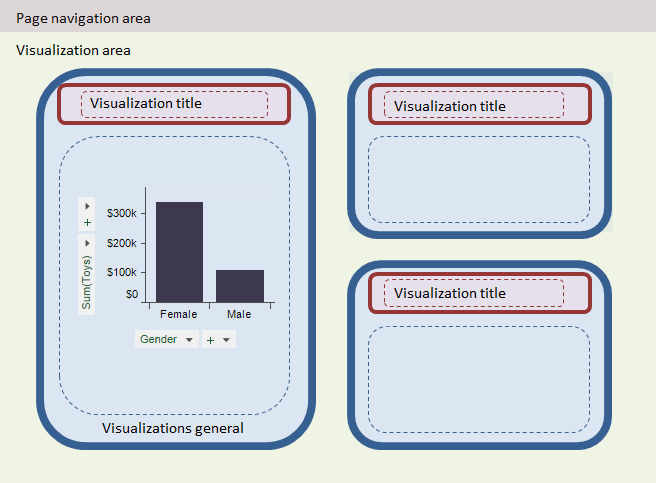
If you want to have more control, selecting the “Custom” option exposes an interface that allows overriding the default look-and-feel and replacing it with custom options. These can include simple things like font and colors, but also more advanced layout-centric options like border spacing, padding, alignment, and corner radius adjustments.

Themes are powerful because they can be defined once and then applied quickly to any new analysis. Once a custom theme is defined, it’s preserved as part of the analysis (either in the DXP file when saved locally, or in the Library when saved in the cloud). To apply a theme to a new analysis, simply choose “Import theme” and select the analysis that was saved with the custom theme.
More information on Visual Themes can be found here.


